I sewed a bag to facilitate deployment of the spinnaker and its sock. I have a turtle bag, but it is threadbare and had to be replaced. The new bag has a 24″ diameter stainless steel hoop sewn into the opening and the top has an elastic band for closing. The bag also has two clips that can be attached to the lifeline.
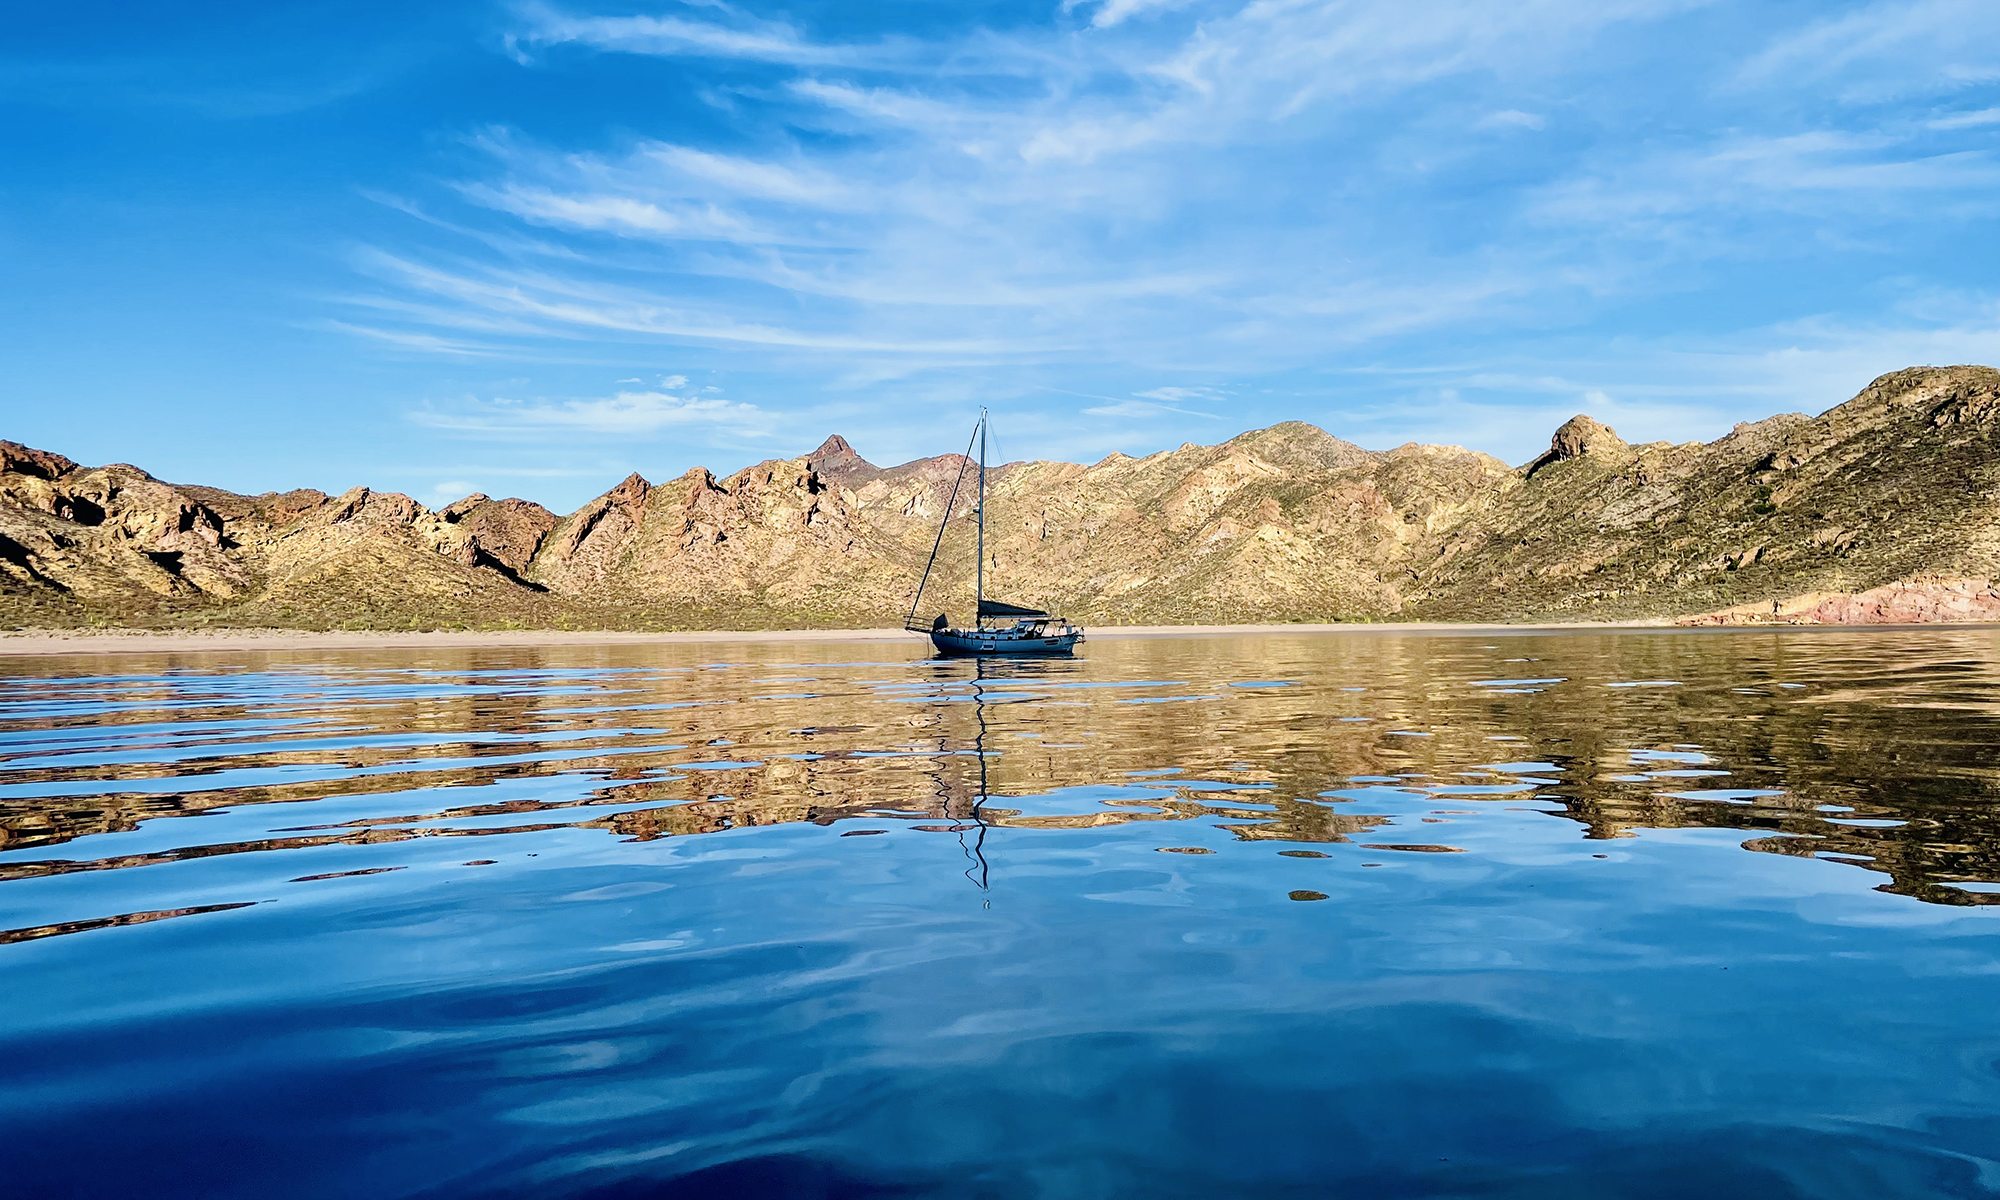
It’s been about 45 years since I last went diving at San Pedro Island, about 15 miles north of an Carlos. I had a lovely time diving there today, two dives between 25 and 60 feet for about 50 minutes each. What I remember most clearly about diving at San Pedro in the 1970’s was diving with the seals. Today did not disappoint … and the seals were there.
Aegir-Ran’s original tiller is nearly seven feet long and was originally constructed of laminated hardwood. Unfortunately, the wood started delaminated. An effort was made to shore up the tiller by inserting dowels, but it still felt “hollow” under pressure.
Note two other features of the original tiller: 1) the cam cleats on the top (for the wind vane) and the bracket for the tiller pilot on the bottom are insecurely screwed into the wood and 2) the tiller extends well into the cockpit (making the cockpit difficult to use for purposes other than sailing). To address these issues, the tiller was rebuilt.
This was achieved by sawing the tiller in half, discarding the unusable handle, strengthening the remaining half of the tiller, building a bracket, and constructing a new handle. I started by cutting a groove down the middle of the tiller with a table saw and gluing in a 1-1/4″ x 3/16″ x 5′ bar of stainless steel (with a hole drilled through it for the main bolt).
Additional plates were recessed and glued on the two sides of the tiller where the bolt passes through. Note the white line of carbosil/epoxy that was used to fill the groove left after inserting the steel bar.
After reshaping the the end of the tiller to accept the new bracket using West Systems 407 Fairing Epoxy, the entire tiller was fiberglassed.
A bracket was designed with Fusion 360 and it was constructed by SendCutSend. Because the top was a different thickness than the sides and bottom (to accommodate tapping the threads for the cam cleats) and because the bracket could not be folded, the four sides of was constructed of tabs and slots (to insure alignment of the holes) and it was welded together. Note the tongue that extends from the bracket to accommodate the Tiller Pilot’s bracket.
The tongue of the bracket was attached to the tiller using stainless steel E-Z Knife Threaded Inserts (in addition to two 1/4″ stainless steel bolts the pass horizontally through the bracket).
A handle was designed with Fusion 360 anti was turned from a single piece of ash (not laminated like the original handle), stainless steel tubes were glued into the holes that accept the pins, and the block was fiberglassed to provide additional strength.
The handle is attached with 1/4″ stainless threaded rods and wing nuts so the handle is easily removed during long passages (to free up the cockpit).
So … after filling the day tank with fuel (15 gallons), it apparently drained (siphoned) out. I installed a Lowrance/Navico Fluid Level Sensor to put the fuel level of the day tank (15 gallons) on the NEMA 2000 network via the sending unit. Once I was able to monitor the fuel level, I discovered the fuel was indeed being siphoned. After I examined the plumbing, I decided to switch the engine return (without siphon tube) and overflow hoses (with a siphon hose) to/from the day tank, and this fixed the problem.
After more than four months on the hard – during which time she received a new fuel system, a bow thruster, bottom paint, etc. – she was put back in the water this morning. The launch was not without its problems. The dripless seal is dipping (and needs to be adjusted) and the engine would not run. Eventually, the problem was traced to an oil pressure sending unit that is attached to the alarm system. Because the sending unit was not tripping, the electric fuel pump was being shut off. I “hot-wired” the sending unit so the boat could be moved from the ramp to the slip.
A 15 gallon aluminum day tank was installed in the engine room on the shelf where the genes used to be mounted. Since it is located above the engine, the diesel is gravity-fed, which reduces the chances of an air blockage in the line.
Since the day tank will be filled from the main tank via the fuel polisher, the fill line for the day tank was located in the bottom of a lazarette. The fill line will only be used for emergencies, were for some reason it is not possible to transfer diesel from the main tank.
The anchor roller passes through the bow sprit. While steel tubes were used to prevent the bolts for the roller bracket from digging into the wood of the bow sprit, the bracket has still shifted causing the roller to dig into the bow sprit platform. I designed a brace and used SendCutSend to manufacture it out of 316 steel.
The bracket is bolted to the bow sprit with lag bolts behind the axial of the roller (outlined in red).